
Our Services
Inspiring DIY Solutions

Craft Tutorials
Discover endless creativity with our craft tutorials, tailored to inspire makers of all ages and skill levels. From easy beginner projects to advanced DIY creations, our step-by-step guides make crafting simple and enjoyable. Whether you’re looking to make seasonal decorations, handmade gifts, or unique home accessories, our tutorials provide everything you need to bring your ideas to life.

Home Decor Ideas
Elevate your home’s style with our accessible and innovative home decor ideas. Designed to be both budget-friendly and beautiful, our decor tips range from simple upcycling projects to full-room makeovers. Get inspired with DIY decor solutions that add a personal touch, from wall art and furniture refinishing to cozy accents that make any space feel uniquely yours.

Gardening Tips
Bring nature to your doorstep with our practical gardening tips, tailored for all experience levels. Our articles cover everything from starting a vegetable garden to nurturing flowers and creating sustainable compost. With a focus on organic methods, these guides help you cultivate healthy plants, improve your outdoor space, and enjoy the many benefits of a flourishing garden.

Activities for Kids
Engage young minds and hands with fun, educational activities for kids. Our guides offer easy and safe projects that spark creativity, encourage learning, and provide hours of enjoyment. From arts and crafts to simple science experiments, our activities are designed to nurture curiosity, foster skill development, and create lasting family memories.
About Us
Empowering Creativity Through DIY Innovations

Your Ultimate Resource for DIY Inspiration
Our Blog
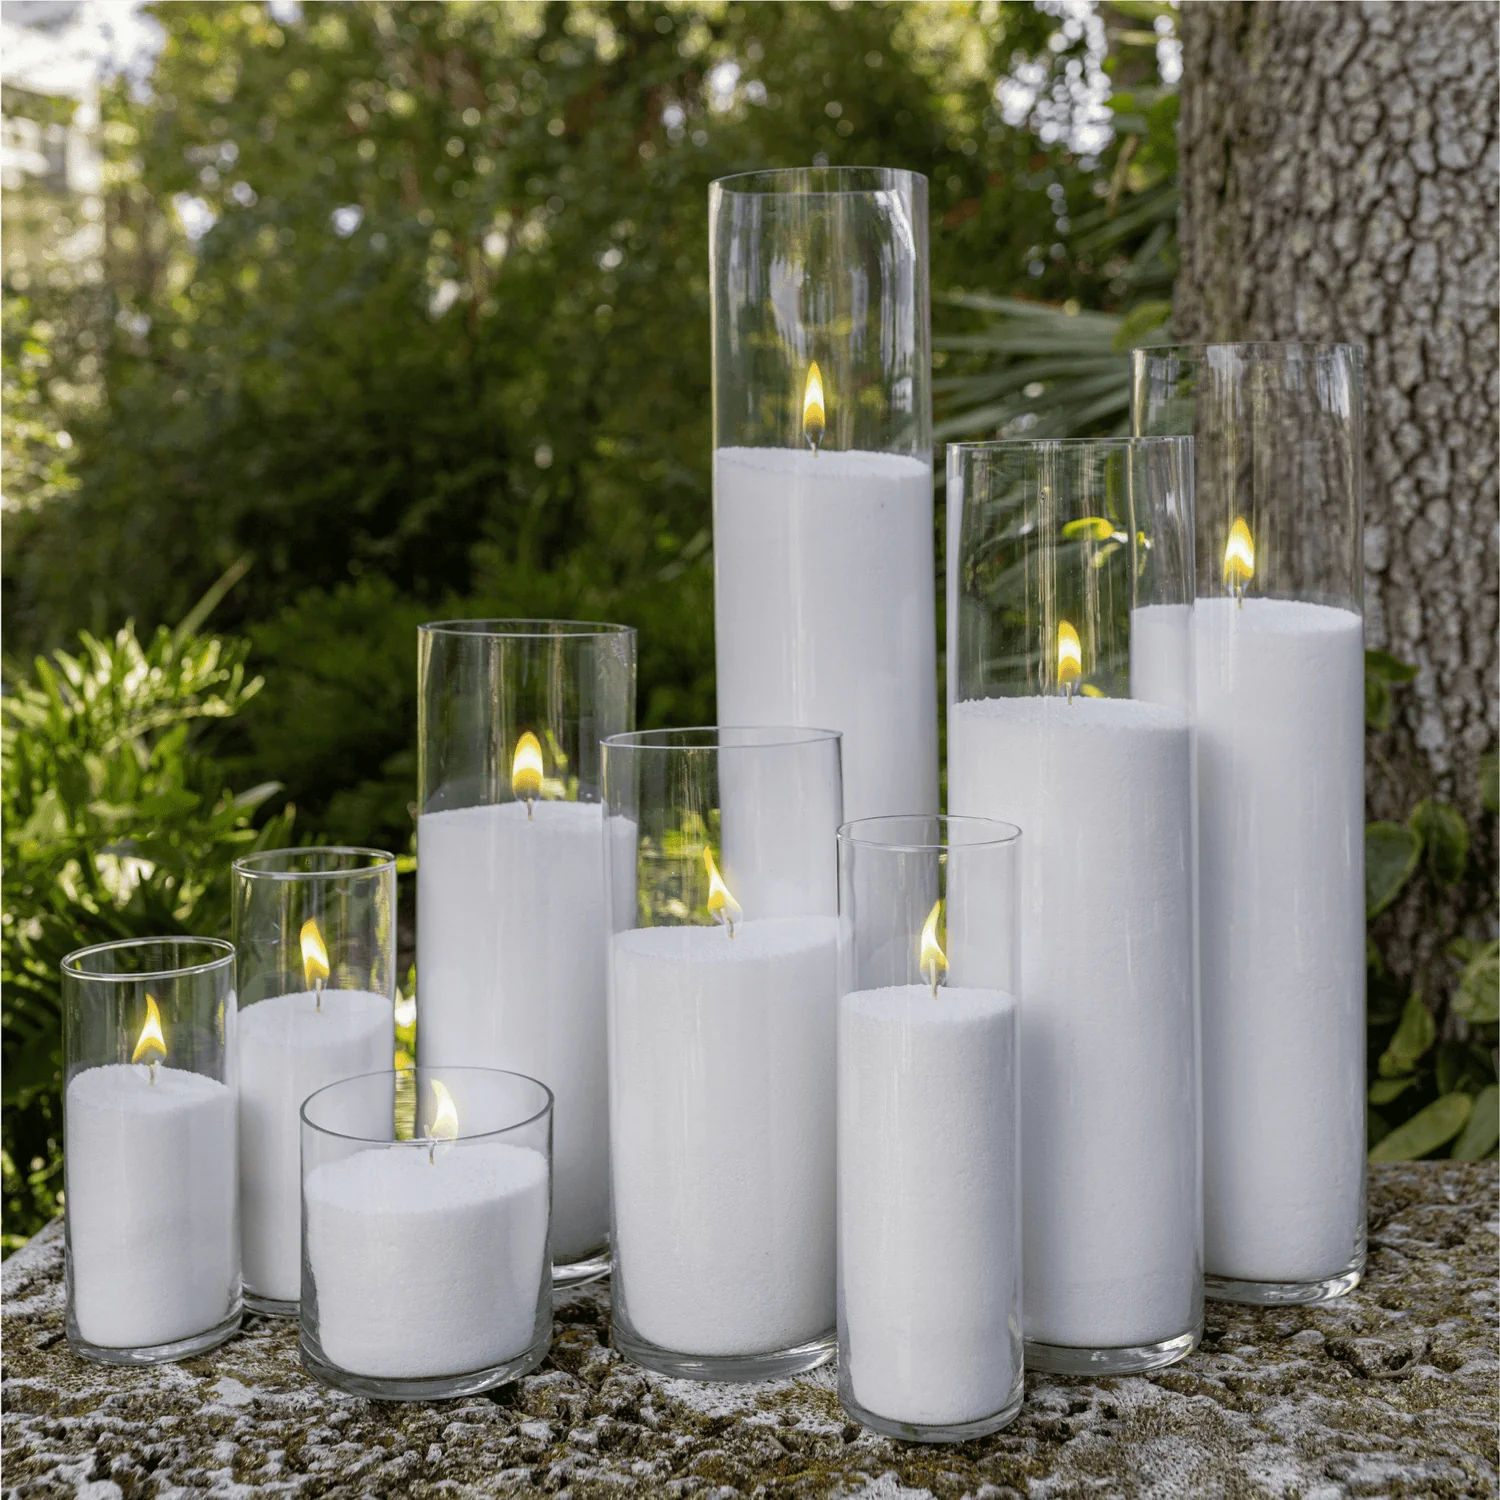
Wholesale Candle Wax: Your Guide to Affordable Quality

Tree Pruning Services: Enhancing Tree Health and Aesthetics
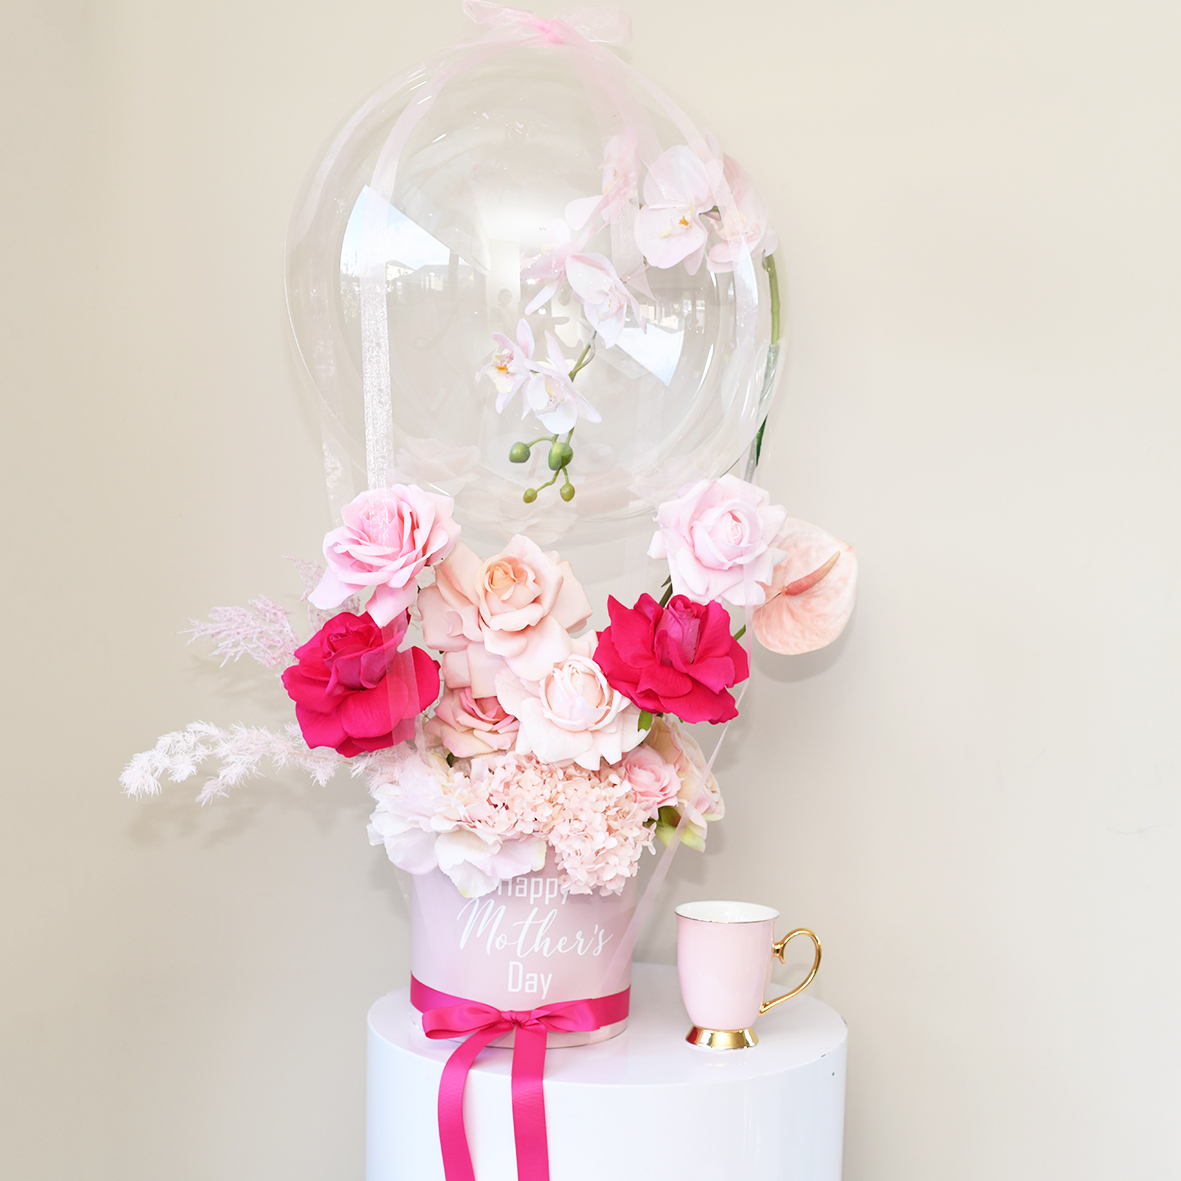
Sydney’s Best Mother’s Day Flowers for Every Mom

Sydney Tree Lopping: Why You Should Hire Certified Tree Loppers

Sydney Gift Delivery: The Best Way to Surprise Someone with a Special Gift

Golden Wax 464 Instructions: Perfect Candles Every Time

Gifts Delivered Sydney: Sending Hampers with Love and Care
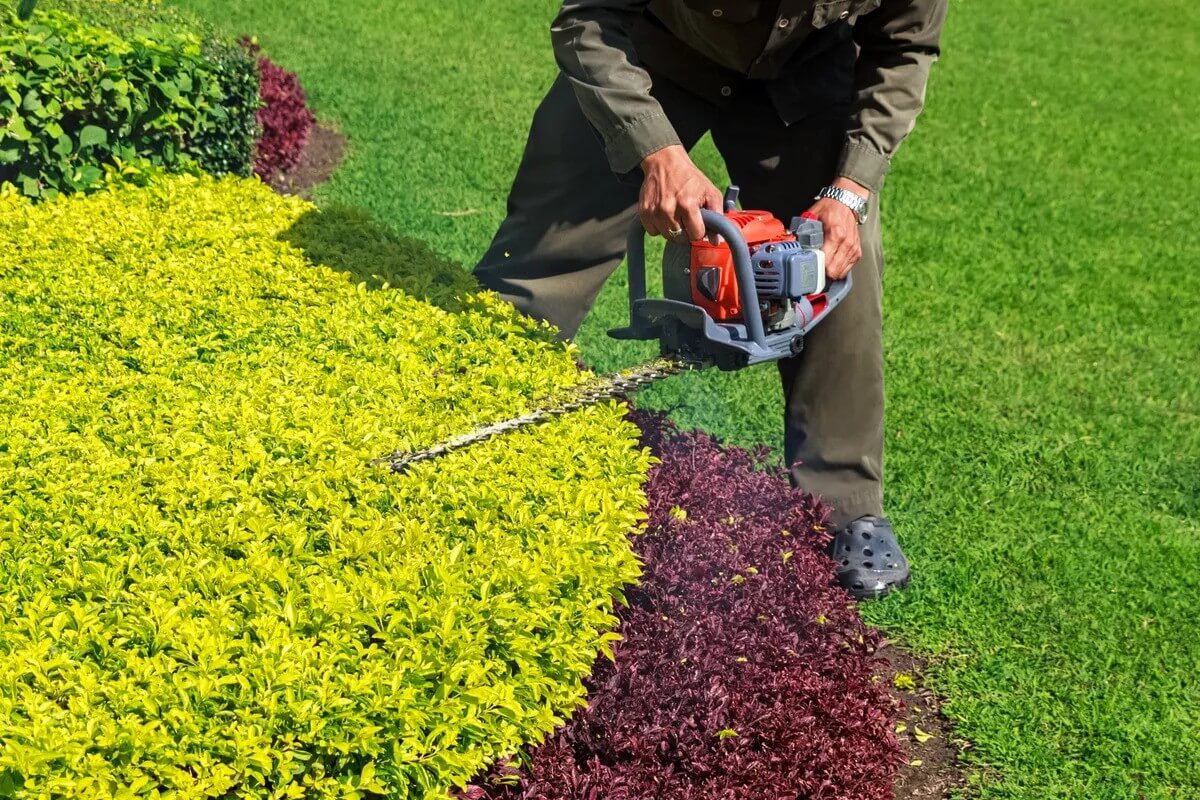
Commercial Hedge Trimming: Enhancing Your Business’s Outdoor Appeal
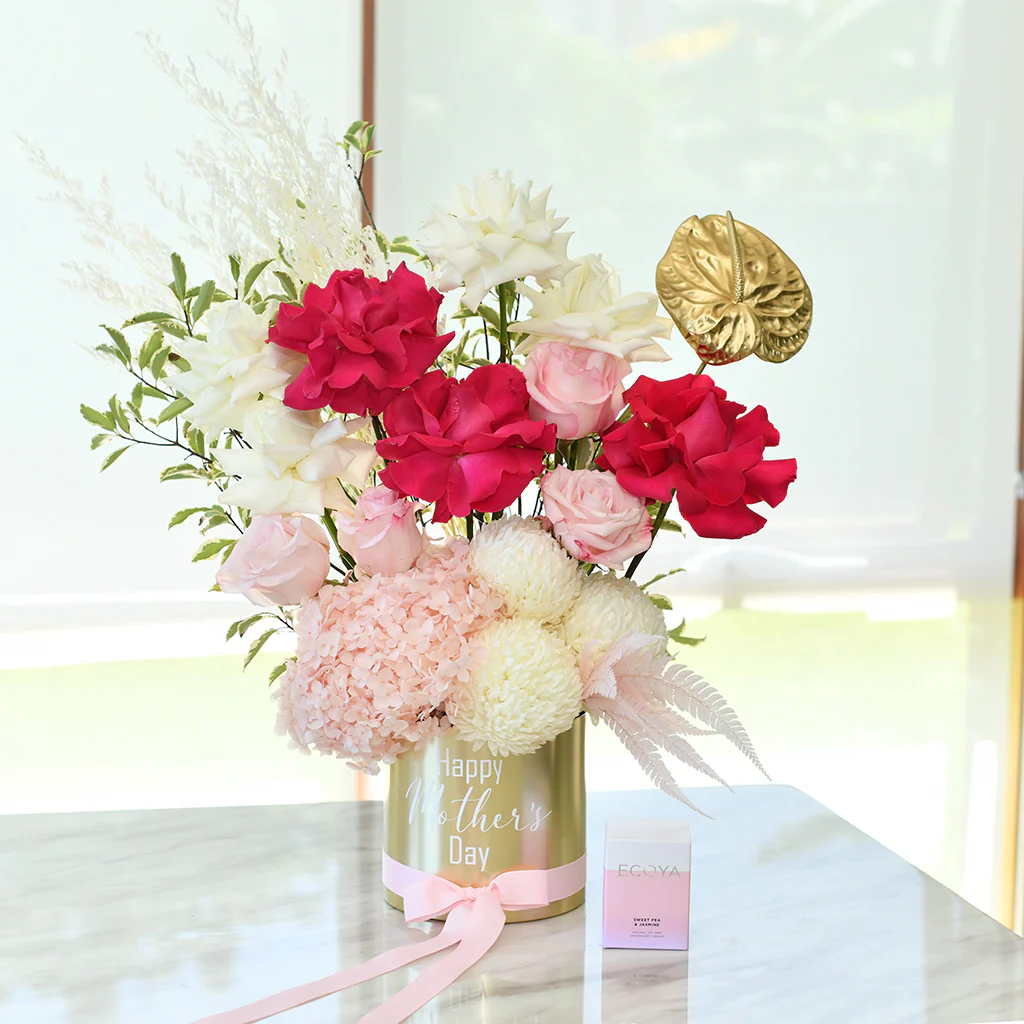
Choosing Beautiful Mother’s Day Flowers for Delivery in Sydney
- 1
- 2
